

This is my first blog GIF, I hope you like it! I might do a tutorial on how to make one someday, but I shouldn't get too far ahead of myself because this is a tutorial for making a paper wreath! I'm not really sure if that's what it's actually called... It could be a paper wreath, a geometric spinner, an origami donut... But I decided to call it a paper wreath!
I learned how to make these in school and I thought it would be a perfect blog post. They're really easy to make and require nothing but squares of paper. You might need scissors, though, if you are like me and only have rectangular paper.
You will need:

8 squares of paper, any size.
First, grab one of the pieces of paper, place it on the table blank side up (if you have one patterned side and one blank side), and fold it diagonally both ways.


Now fold it horizantally one time.

Next, unfold your paper and use the horizontal fold you just made as a guideline to fold two of the corners down, like so:

Now, fold your paper in half along the horizontal line.

This next step is a little trickier. Touch the top right corner and push it in gently like these photos show.


All done! Now repeat this process for the other seven pieces of paper.

This next step is also a little tricky so pay careful attention to these photos. You're going to put two of your diamonds on the table like this, so that the left side opens up.


Hold one in each hand and do what the photos show.


Now repeat this process for the rest of the diamonds until you come back to the first diamond.


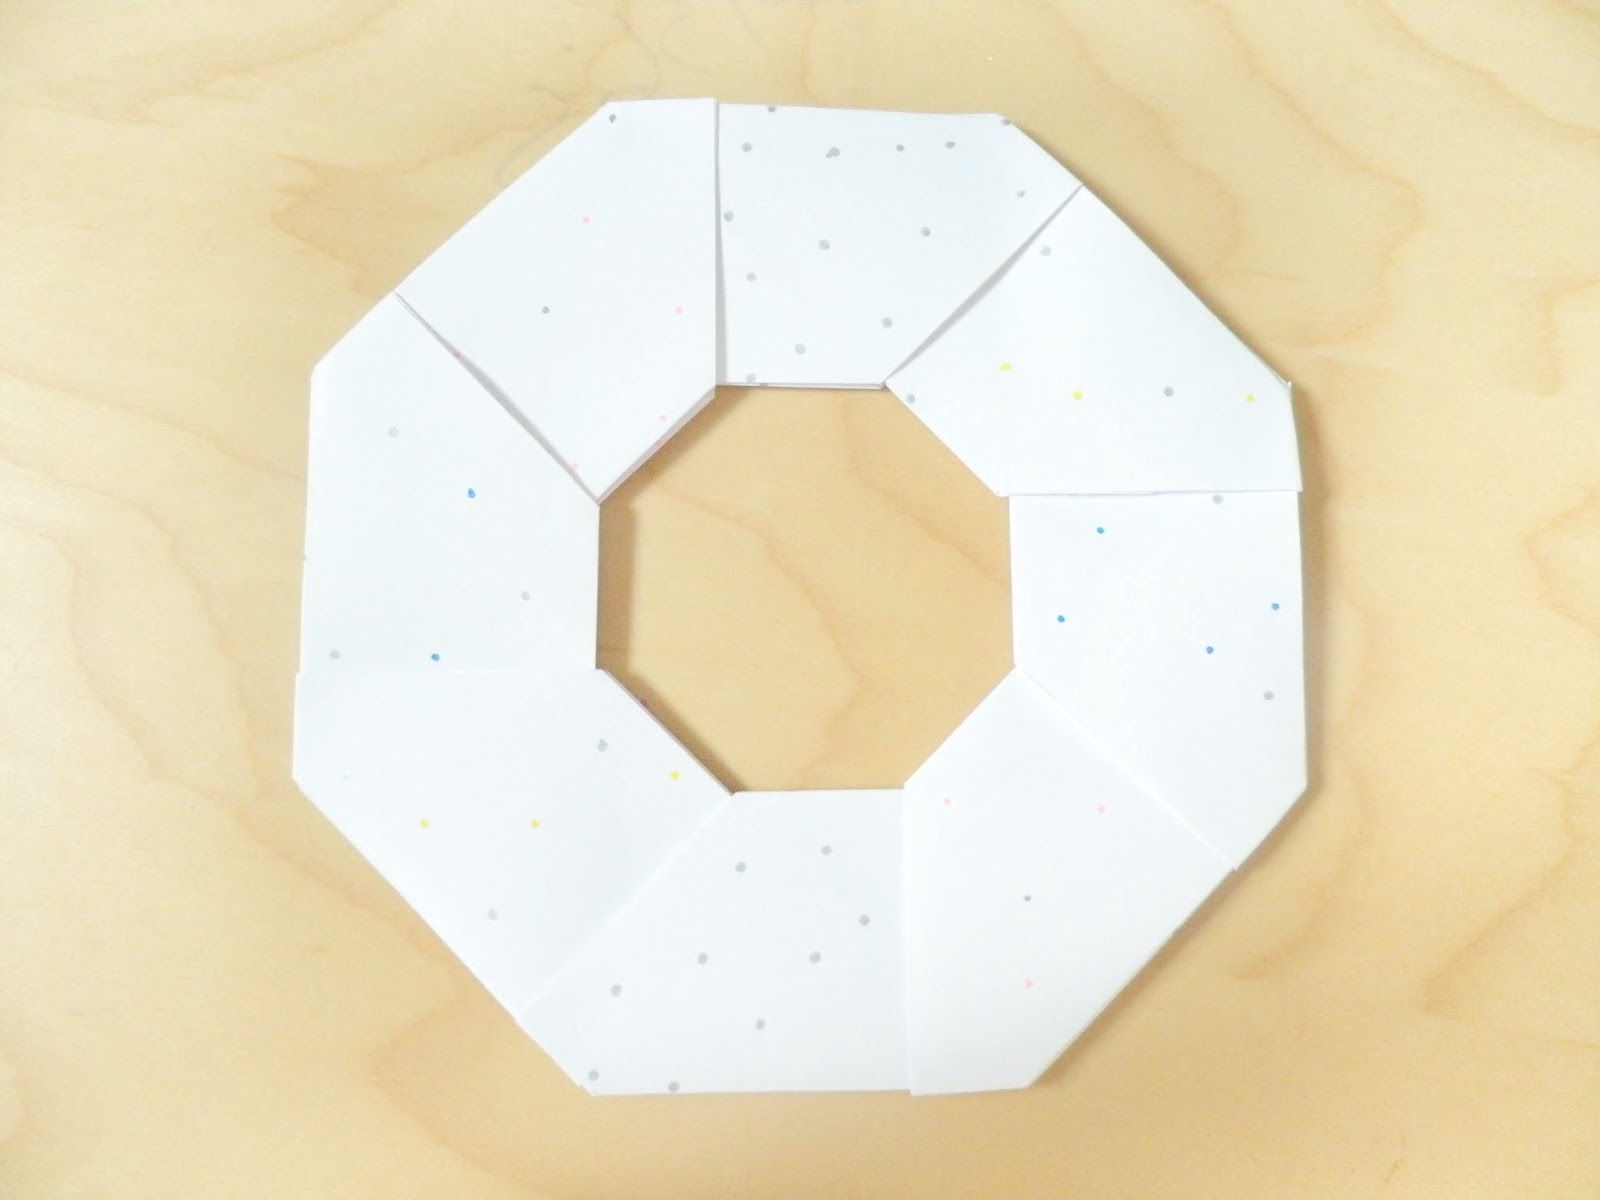
That's it! These are really fun to play with because the diamonds slide around, allowing you to make all sorts of different shapes.
Thanks for reading!
No comments:
Post a Comment