Showing posts with label crafts. Show all posts

November 28, 2014

diy advent calendar

Christmas is coming up in less than a month! Time flies...

Which means, it's time for advent calendars! My family has been doing advent calendars for as long as I can remember. The kind where you open the little door each day and eat the piece of chocolate that has a holiday themed picture stamped on it. It's one of the most important parts of Christmas for me, symbolizing the start of the holiday season.

But before now, I'd never really thought about DIYing it.

Of course, we're still doing the advent calendars with the chocolates, but I figured, this year, why not put one up in my room? The more the merrier!

For this simple craft you'll need:

paper + washi tape + the printables below + string +  hole puncher +  glue stick + stapler + scissors


PRINTABLES

Tag Templates (you may need two of these)
Labels
Labels 2
Days Left Labels
Days Left Labels 2

Cut out the tag templates from the printable, leaving lots of space around the sides. Place one on top of a small stack of pieces of paper and staple the edges so that they stay in place. Use the template to cut this stack into a tag shape. Repeat this until you have 25 tags.
 
Next, cut out each of the date labels and use thin strips of washi tape to attach them to the tags.

Cut out the "days left" labels and glue them to the backs of the corresponding tags. Start with "24 days left" on December 1st and you should end with "Merry Christmas!" on December 25th.

Next, cut out pieces of string that are equal in length. I used 6-inch pieces but you can use any length. Hole punch the top of each tag.

Tie even loops through each of the tags. I used a pencil to make sure that each loop I tied was the same length. You can do this by placing a pencil between the two ends of the string, tying a double knot around it, and then sliding the pencil out.

Then, use these strings to hang your tags up on the wall. It's up to you how you want to go about doing this. You can use clear tape washi tape, even push pins, if you have a bulletin board (don't ruin your wall with 25 push pin holes, hehe!). I hung mine up in a triangle shape so that it would look like a Christmas tree.

Now each morning when you wake up you can flip over a tag and you'll see how many days are left until Christmas!

I'm so excited for the holiday season to start and I hope this project has helped you get ready for it in a fun and crafty way!

Thanks for reading!

November 7, 2014

diy geo string art


Last school year in my math class one of our projects was to create string art. I was really pleased with how it turned out, but I didn't make any more string art after that. Then, I saw a piece of art at West Elm that reminded me of what we did in class, except it was simpler and more modern. It got me thinking about ways to do something with string art that would be really easy to do but would look nice at the same time.

I started experimenting with making dots on a piece of paper and then connecting them with a ruler until finally I had something I really liked, and that's what I'll be showing you how to do!

So, you will need:


Scissors, a piece of paper (preferably thick), a needle, and embroidery string.

Use the needle to poke five holes. If you want to just make one shape, then you'll want to space these holes far apart. If you want a couple, put them close together.


It looks best if no 3 of the holes make a straight line, so you may want to use a pencil on the back of the paper to plan it out. After all, you can't fix it once the needle's gone through the paper, haha! Sut a couple of feet of string and thread your needle. Then, pick one of the holes to start out with. Push the needle through from back to front and pull all the way through, leaving only about 2 inches. Pick another hole and bring the needle through.

Repeat this step until you think you've made every possible line. Then flip over to the front and use your finger to trace a path from each hole to each of the other four, just to make sure that you've for sure finished.You will finish up at the back so tie the two ends of the string together and you're done! Easy, huh?


Here is what my finished piece looked like after I was done:


Sort of reminds me of crystals... I put it up on my little inspiration wall above my desk and I love the way it looks there! You can use different colors of paper and string to make it match with any room decor that you have.

If you're up for something a little more challenging, check out these websites that have some really cool string art templates. They take more time, but are so worth it, and I actually find the process pretty relaxing.


abeautifulmess.com

 (Halloween-themed string art)

Thank you for reading! If you try this DIY post it on Instagram with the hashtag #abitamusingDIY


I've been thinking about making an Instagram page to showcase photos from this hashtag. What do you guys think?
.


October 6, 2014

typography poster


Hello there!

Typography is defined as "the style and appearance of printed matter" or "the art or procedure of arranging type or processing data and printing of it".

I, personally, would define it as "the art of arranging and combining different fonts and typefaces".

I love playing with fonts, discovering new ones, and using them! Just recently I had to create a worksheet for a school project and I had a lot of fun picking the perfect fun to use.

If you love fonts as much as I do, or simply want to make something beautiful, then consider making a typography poster!

Today I will be showing you how you can make your own typography art and hopefully inspiring you to try some new things with it.

Let's start!
You will need: paper, a pencil, eraser, black marker (or paint), a ruler, and other shape drawing materials.

First, you'll need to find an inspiring quote that you like.You can just search "inspiring quotes" online and you'll find plenty to choose from. 

Then, use a pencil to sketch your rough draft. Try arranging your words in different ways; you can always erase if you don't like it! Try using different elements like: arrows, symbols, banners, shapes, lines, etc.
Also remember to use lots of different fonts. Combine clean, modern fonts with swirly cursive fonts.

Then, go over everything with your marker, add details, and you're done!


Hang up your work of art, or share it with your friends! 


Hope you enjoyed this post,
Bela

September 26, 2014

accordion-style folder


Hello everybody!

You might know that I love reusing and repurposing things, so when we received a beautiful hardcover Gucci catalog one day, I knew I wanted to make something out of it.

I carefully pulled out all of the pages away from the glue that bonded them to the spine and snipped some strings to free them.


I decided that what I wanted to make with it was an accordion-style folder.

I had never made one, so it took some experimenting (and lots of mistakes) to come up with a good technique to share with you guys!

So let's get started. First you'll have to get something similar to the cover of my catalog. You could also take a large, heavy sheet of paper and fold it in half, or connect two pieces of cardboard with a strip of fabric.

You will also need:
  • a sheet of paper (this should be strong enough that it won't rip easily but thin enough to fold)
  • scissors
  • glue or rubber cement (I used the latter)
  • a ruler or measuring tape
  • pencil
1// Measure how far you will want your folder to open (the width between the two edges) and cut out a rectangle of paper that is about 3cm wider than that. You should make it long enough that you will be able to trim it later.


2// Now line your rectangle up with the folder, placing it about one centimeter below the opening of the folder, then use your pencil to mark the point where you will trim the paper (about half a centimeter above the spine).


3// Open up your folder to the width that it will be once you're done, and place your paper in front of it as shown. Then, go down to the very bottom and mark .5cm from each edge, like so:


4// Now cut from the corners or the rectangle to the marks you just made.

5// Trace this triangle onto your colored paper so that you can make a second of the same shape and size.


steps 6-9 apply to both triangles

6// Fold the triangle in half. Then fold up both edges halfway. Fold up the edges halfway once more. It's like making a paper airplane!


7// When you open them up, the triangles should look like this (flip it to the side that has 3 "mountains":


8// Apply glue to the outer edges (the outer edges of the 1st and 3rd mountains).

9// Now take one of your triangles and hold it so that the side with 2 mountains is facing you. This is extremely important! You will glue it in this way.


10// Glue one side of one triangle in, then one side of the other triangle. Then glue in the remaining sides. This is easier than doing it one at a time because otherwise, when you're doing the second one, you won't be able to fully open the folder.  

I then decorated my folder with circles and labeled it "inspiration" because I plan on using it to collect magazine articles and pictures that I like.


I hope you guys enjoyed this post! Thank you so much for reading!

August 31, 2014

how to make mini notebooks


Hello! Today I've got another DIY for you! I've decided to show you guys how to make mini notebooks. You can use them for taking notes, drawing little illustrations, taking down quick ideas on-the-go... Or you could come up with a really unique use for them. Maybe you could turn one into a unique birthday card for a friend, or, if you friend is the crafty/writer type, give them a stack of these notebooks tied up with a cute ribbon and let them decide what they'd like to do with them. Maybe you could use notebook for each book you read to write down memorable quotes. You can really do anything.

Anyways, let's get started! For this project you will need:


Colorful paper, blank paper, string, a needle, and some magazine pictures.

First, cut your blank paper into small sheets. I use regular printer paper and I like to cut each sheet into four pieces. Of course you could make yours smaller or bigger.


Fold all of these sheets in half and stack them.

Now trace and cut out a cover sheet from the colorful paper. Fold that in half and put it on the bottom.


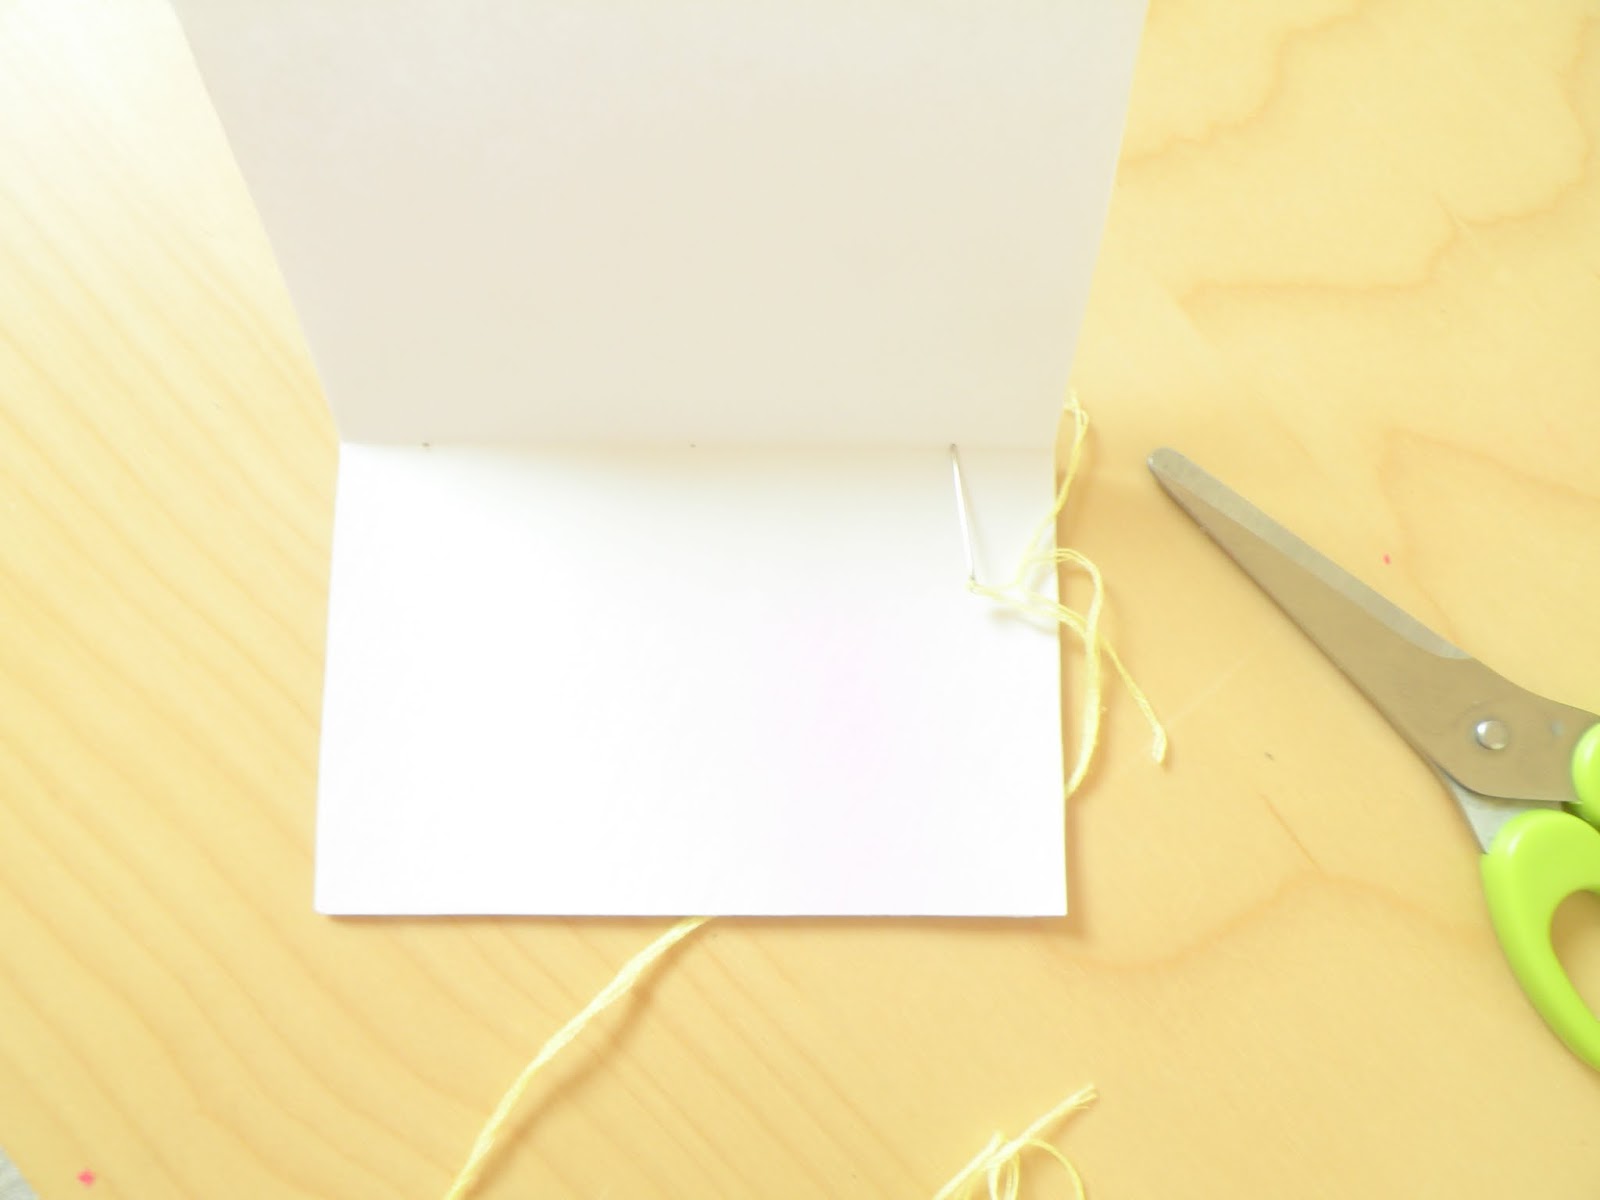
Take a needle and pole two holes through the middle of these sheets of paper.

Grab your string, tie it onto your needle, and weave it through both holes, like so.


Tie it up, decorate the cover, and you're done!


Comment below and share any ideas you have for using these notebooks!

Thanks for reading!

August 12, 2014

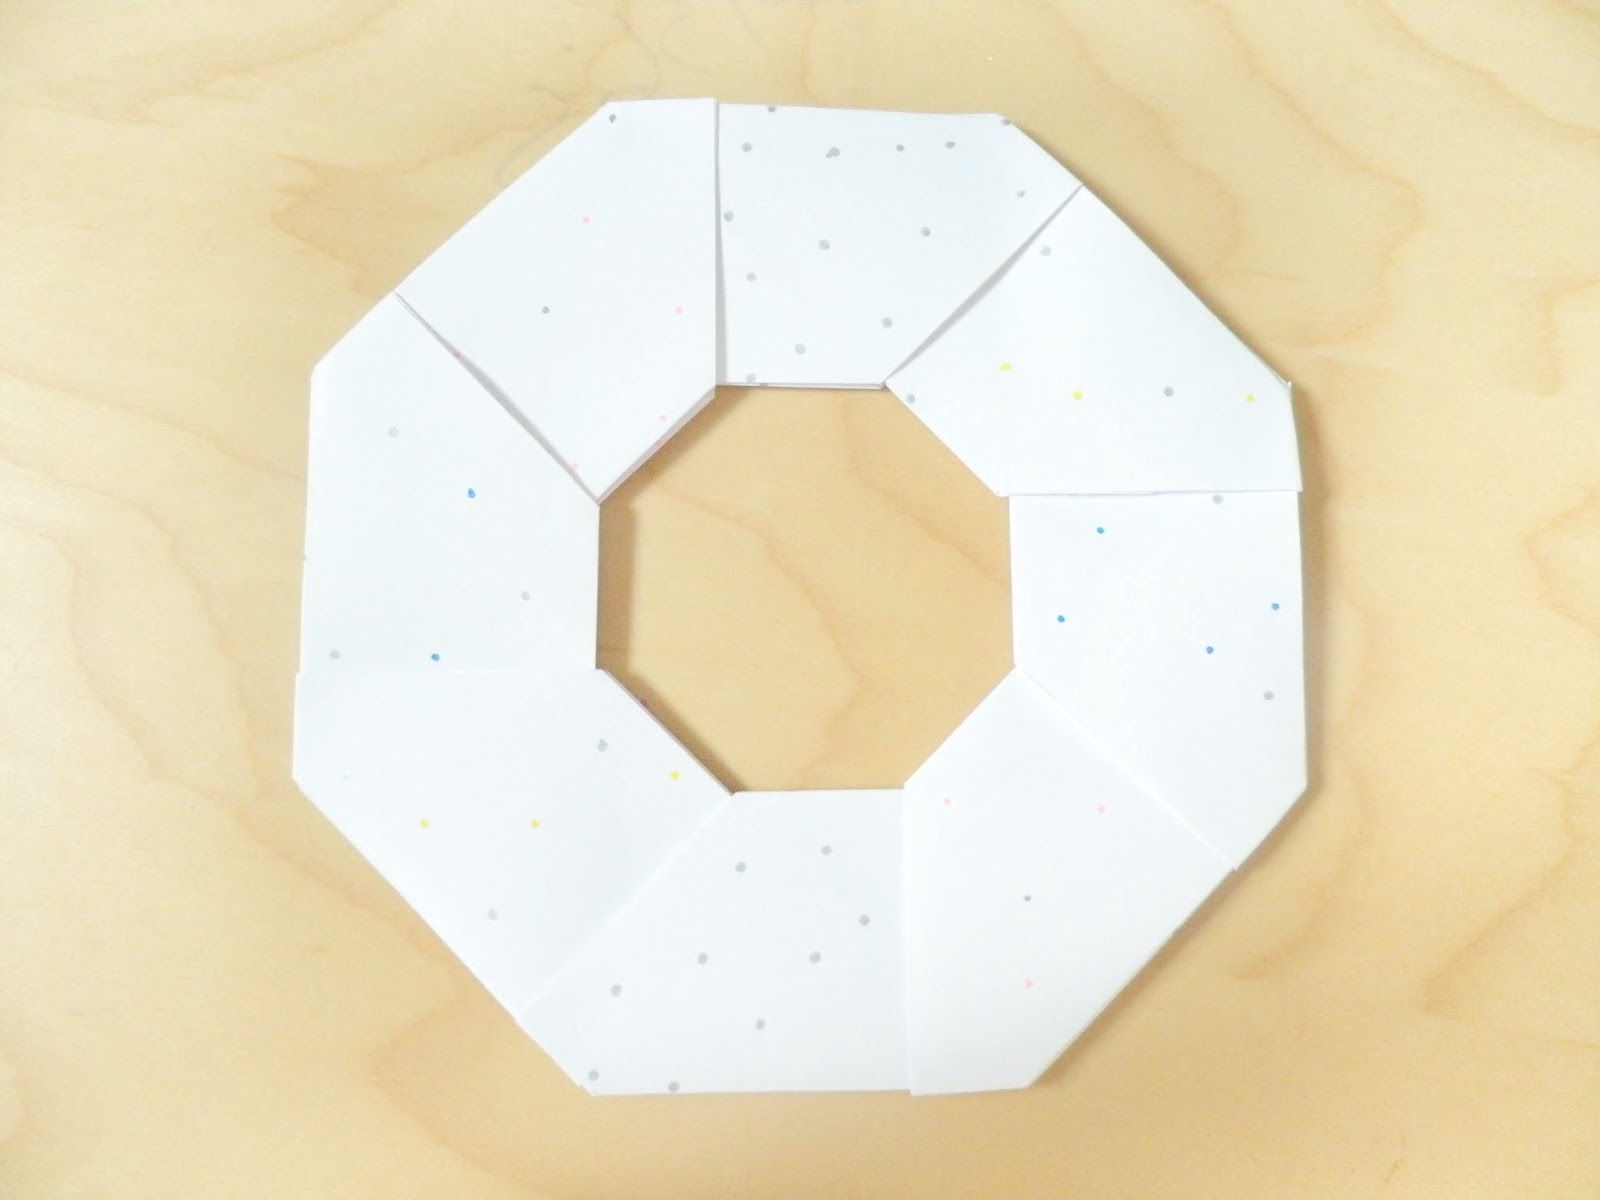
how to make a paper wreath


This is my first blog GIF, I hope you like it! I might do a tutorial on how to make one someday, but I shouldn't get too far ahead of myself because this is a tutorial for making a paper wreath! I'm not really sure if that's what it's actually called... It could be a paper wreath, a geometric spinner, an origami donut... But I decided to call it a paper wreath!

I learned how to make these in school and I thought it would be a perfect blog post. They're really easy to make and require nothing but squares of paper. You might need scissors, though, if you are like me and only have rectangular paper.

You will need:


8 squares of paper, any size.

First, grab one of the pieces of paper, place it on the table blank side up (if you have one patterned side and one blank side), and fold it diagonally both ways.


Now fold it horizantally one time.


Next, unfold your paper and use the horizontal fold you just made as a guideline to fold two of the corners down, like so:


Now, fold your paper in half along the horizontal line.


This next step is a little trickier. Touch the top right corner and push it in gently like these photos show.


All done! Now repeat this process for the other seven pieces of paper.


This next step is also a little tricky so pay careful attention to these photos. You're going to put two of your diamonds on the table like this, so that the left side opens up.


Hold one in each hand and do what the photos show.


Now repeat this process for the rest of the diamonds until you come back to the first diamond.


That's it! These are really fun to play with because the diamonds slide around, allowing you to make all sorts of different shapes.

Thanks for reading!