
My favorite free app for making videos out of pictures (otherwise known as stop motion and time-lapse videos) is Stop Motion Studio. It is free and available for iOS. I have some tips and tricks for making both kinds of videos on your device using this app. Let's get started!
The app looks like this when you first open it up:
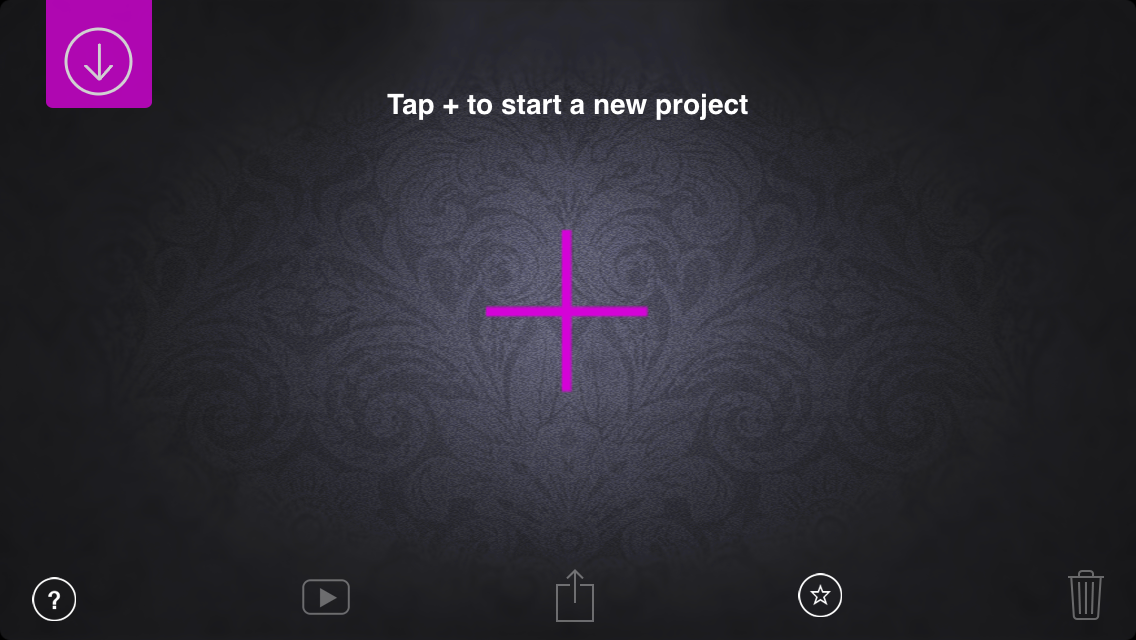
Let's start out with making a stop motion animation. You have to click on the purple "+" to start a new project. When you do, you'll come to this screen.

Click on the camera and you'll be taken to camera mode.

Now all you have to do to make your video is set up your device in a safe place, prepare your "stage", and start taking photos! You can do this either by clicking on the red circle each time you want to take a photo, or setting a timer to make the phone take pictures automatically. You can do this by clicking the clock icon at the bottom of the screen, moving the slider to adjust how many seconds the app should wait before taking a picture, and then switching the timer mode on.


You can also click the settings icon to access more options and features. You'll notice that some of them, such as the remote camera feature and the green screen feature, are not available unless you purchase them, but I think that the app is still a good option if you need a basic app that won't cost anything.

Once you're done taking pictures, press the "X" button above the red circle to exit camera mode. Here, I've pressed the help button so that you can see what each button does.


The settings button is probably the first one you will click when you start editing because that's where you can adjust how quickly the frames will be played.
If you don't like a slide (sometimes your hand gets into the shot!), you can tap on it and click delete.

Now I'll explain how to make a time-lapse video. Let's say you wanted to make a time lapse video of a sunset, because, let's face it, sunsets are perfect subjects for time-lapse videos! Your first step would be to set up your camera in a place where it would not move during the picture-taking process. It's better to place it outside, but if that is not an option, try to set it up in a place where window glare is as minimal as possible. Set your timer and then leave the app to do its job. Once you are done, click the "X" button and edit your video to your liking.
TIPS
1// The voice-over feature is great for making tutorial videos. You can make a time-lapse of you doing whatever it is that you're making a tutorial about and then add a voice-over explaining the steps.
2// If you are using daylight as your main source of light, make sure the project doesn't last so long that the sun starts to set while you're taking pictures. This will result in an awkward color change in your video. This happened to me once when I was making a time-lapse. It got cloudy outside all of a sudden and when I watched my video, there was a point where the frames suddenly adopted a greenish-gray tint. It looked horrible.
3// If you want to add music to your video but don't want to pay for the in-app feature, you can save the video to your camera roll and then open it up in a different video editing app, such as iMovie.
4// When making a time-lapse of a craft, a good angle to use is a bird's-eye view. That way the viewer can see everything that you are doing.