Showing posts with label notebooks. Show all posts

October 20, 2014

blogging notebook

As a blogger, it's really helpful to have a place to write down all your ideas, keep track of your stats, and plan posts before sitting down at the computer to write.

I personally have two notebooks that I use for blogging. They're almost the same except that they are in different colors, one is blank, one is ruled, and one has slightly more pages. But they are the same size, which makes them easy to carry around. You may want to take that into consideration when purchasing a notebook (or notebooks).

So my first notebook, the pink one, is the one I use for important information and useful tips that I'd like to keep and look back on in the future.
At the beginning of the notebook I have my pages of ideas categorized into:

1// Craft DIYs
2// Other How To's
3// Blogging
4// Lifestyle
5// Inspiration
6// Community
7// ...and other small categories with only a couple of post-its each

I don't add post-its to it that often. What I usually do is I write down ideas in my other notebook and then set aside time to transfer all of those onto sticky notes.
When I'm working on my post schedule I can see all of my ideas categorized by topic and simply peel them off when I decide to use them.

Also in the beginning of my notebook I have a couple of pages where I've collected tips on different topics. This is really helpful because I can just flip to whatever advice I need instead of trying to remember what "that one website with all those great tips" was, haha!
Lastly, at the end of this notebook is one of the most invaluable tools a blogger can have. A schedule.

This is where I plan out what posts I will have on each Tuesday and Friday. When I'm done writing a post I can simply check it off. There's also a spot to mark if there are still additional links I need to add but can't yet because the post(s) I want to link to are not published yet.
At the bottom of each page I keep track of my stats for that month. I have:

  • total Bloglovin' followers
  • total Instagram followers
  • total Pinterest followers
  • total Google+ followers
  • views for that month only
This is super helpful and to all my readers who have blogs, I strongly suggest you do this. Not only is it motivating to see your blog grow, but it provides valuable data.

Onto my second notebook! There's actually not that much to say about this notebook because it's sort of a catch-all for ideas, rough drafts, and brainstorms. It's really nice, though, to be able to have all of my messy thoughts in one place, and all of my imporatant notes in another. In this notebook, I don't have to worry about how organized my writing is, or how neat. As long as I can read it, it's fine!
This very post started out in this notebook, which I then typed up and published, and which you are reading right now!

I hope that this post gave you ideas for your own blogging notebook(s) or inspired you to make one. Blogging is a lot more fun when you're organized!

Until next time,
Bela


August 31, 2014

how to make mini notebooks


Hello! Today I've got another DIY for you! I've decided to show you guys how to make mini notebooks. You can use them for taking notes, drawing little illustrations, taking down quick ideas on-the-go... Or you could come up with a really unique use for them. Maybe you could turn one into a unique birthday card for a friend, or, if you friend is the crafty/writer type, give them a stack of these notebooks tied up with a cute ribbon and let them decide what they'd like to do with them. Maybe you could use notebook for each book you read to write down memorable quotes. You can really do anything.

Anyways, let's get started! For this project you will need:


Colorful paper, blank paper, string, a needle, and some magazine pictures.

First, cut your blank paper into small sheets. I use regular printer paper and I like to cut each sheet into four pieces. Of course you could make yours smaller or bigger.


Fold all of these sheets in half and stack them.

Now trace and cut out a cover sheet from the colorful paper. Fold that in half and put it on the bottom.


Take a needle and pole two holes through the middle of these sheets of paper.

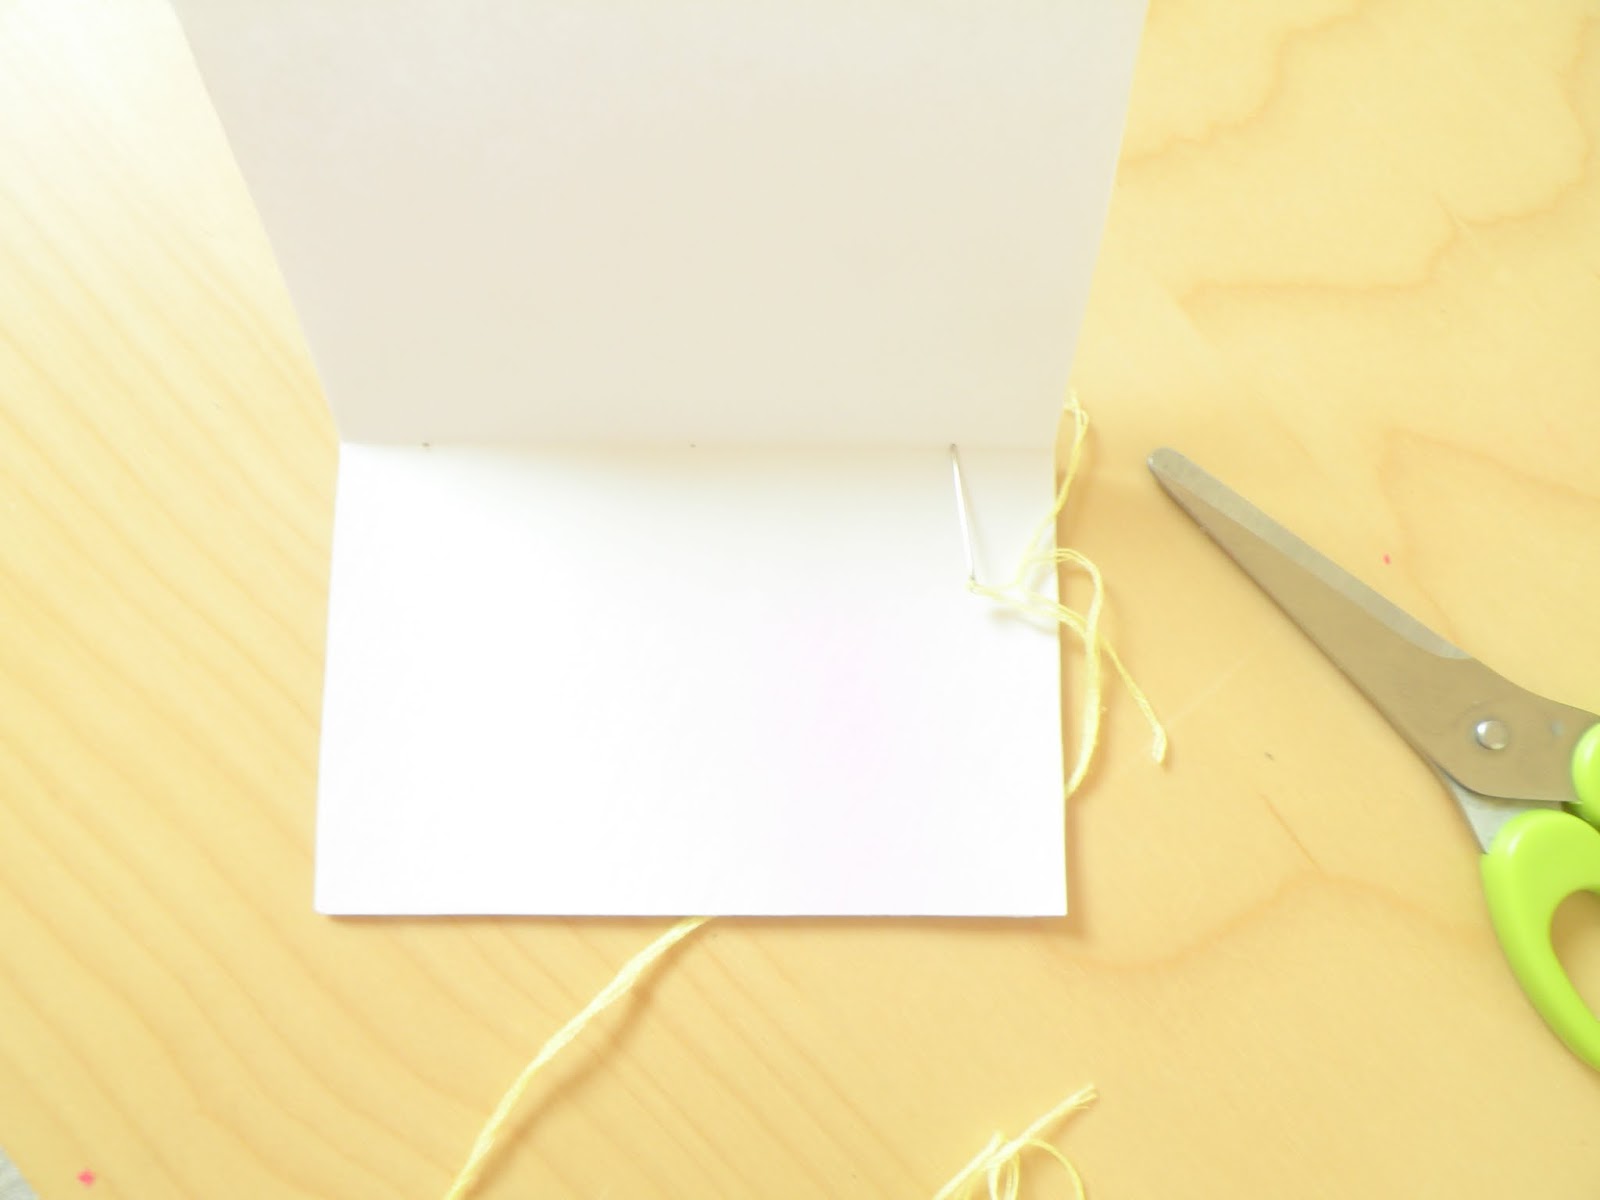
Grab your string, tie it onto your needle, and weave it through both holes, like so.


Tie it up, decorate the cover, and you're done!


Comment below and share any ideas you have for using these notebooks!

Thanks for reading!