Showing posts with label drawing. Show all posts
October 24, 2014
handwriting
Hello! Today I'm going to talk about handwriting.
Let me start out with saying that I don't think handwriting will become outdated for a long, long time. If and when that happens, a great deal will be lost. No one will buy pretty stationery anymore, no one will look forward to writing on it using their new pens.
Anyways... the point is that currently, we use handwriting every day. Jotting down notes, brainstorming, writing reports, signing cards, etc. I think it's pretty cool how everyone has a different style of writing. By this I mean the kind of writing you do when you're not really paying attention to making your letters look pretty. You're just trying to get your thoughts down.
But sometimes when we write we try to adapt new, different styles. It's important to be creative when doing this, especially when you're working on an art project, because interesting typography can make a big difference!
When you're journaling, you can add some funky headers to your pages. When you're making a card a fun handwriting style can make the recipient smile. If you're designing a blog header by hand, this is definitely important. This is why I decided to write this post.
If you want to improve your handwriting or spice up your art, the first thing you'll need is a pencil and a piece of paper. Pick a phrase or word to use. A good one is "the quick brown fox jumps over the lazy dog" because it uses all the letters of the alphabet. If that's too long you can try using your name, unless it's very short!
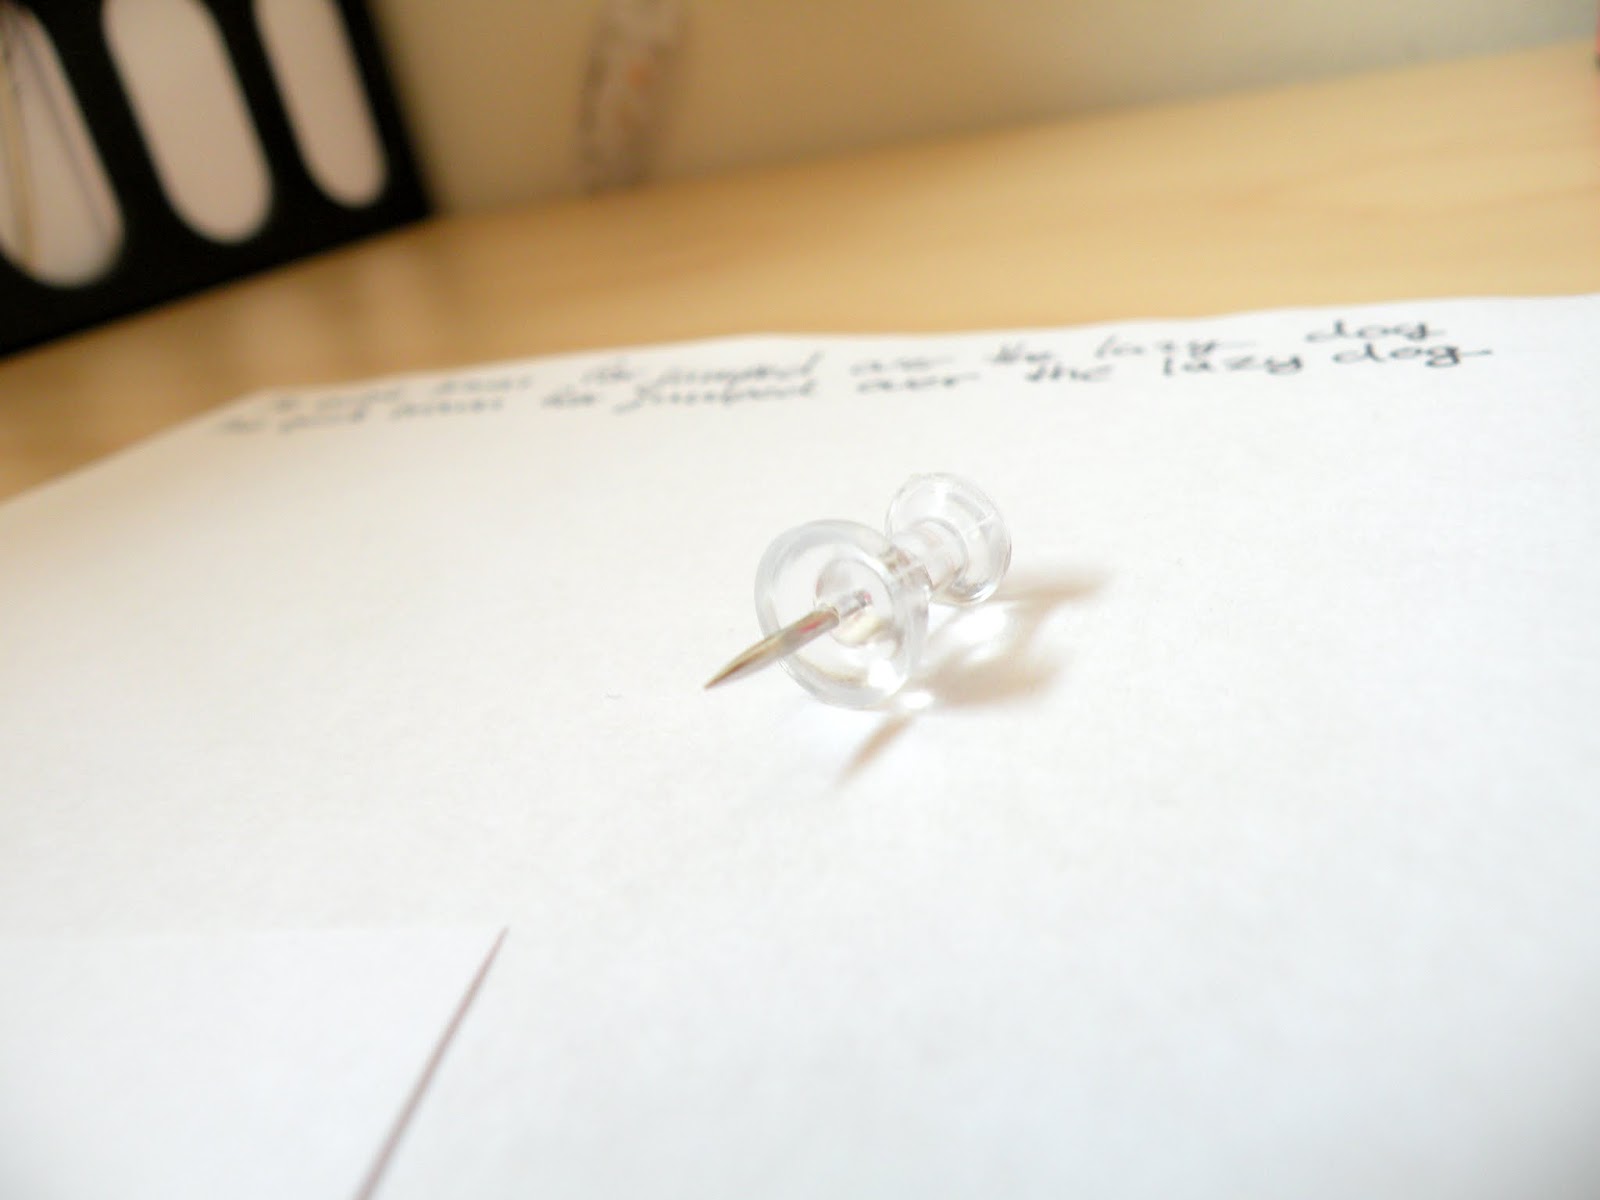
Once you've decided what you'll write, write it at the top of the page using the "quick and fast" handwriting I mentioned before, your "normal handwriting".
Now look at that and recreate it, but this time do it slowly, essentially creating a neat version of your "quick and fast" handwriting.
Now you can experiment with different ways to write! Here is a list of things you can experiment with:
1 // Try bubble letters. make them bold, make them skinny. Shade them in, fill them with a pattern.
2 // Connecting your letters vs. not connecting them.
3 // Space between your letters.
4 // Height of your letters compared to the width. Make them short and wide, then tall and skinny.
5 // Raise and lower the "dotted line". The dotted line is where you cross your t's, I think you'll see what I mean in the photo below.
6 // Make your lines rigid, then curve all of them a bit.
7 // Loop the tails of your j's, q's, g's, and y's.
8 // All lower-case vs. all upper-case.
Find inspiration in magazines (the one in the photo is a Bloomingdales magazine) and little pieces of paper.
Once you're done experimenting, get a new sheet of paper to write down your favorite "fonts". You can even give them names! You can use this as a reference sheet for when you're doing something where you think a nice font would look good.
Whenever you have time, take out a notebook and practice using these fonts.
You can also use a similar technique to simply improve your handwriting. Once you've looked at what your "quick" handwriting looks like and what your "neat" handwriting looks like, you can decide what you would like to change about it. Then practice writing like that over and over again.
I think writing in different ways is really fun, and I hope this post inspired you!
Thanks for reading, and have a lovely day!
October 6, 2014
typography poster
Typography is defined as "the style and appearance of printed matter" or "the art or procedure of arranging type or processing data and printing of it".
I, personally, would define it as "the art of arranging and combining different fonts and typefaces".
I love playing with fonts, discovering new ones, and using them! Just recently I had to create a worksheet for a school project and I had a lot of fun picking the perfect fun to use.
If you love fonts as much as I do, or simply want to make something beautiful, then consider making a typography poster!
Today I will be showing you how you can make your own typography art and hopefully inspiring you to try some new things with it.
Let's start!
You will need: paper, a pencil, eraser, black marker (or paint), a ruler, and other shape drawing materials.
First, you'll need to find an inspiring quote that you like.You can just search "inspiring quotes" online and you'll find plenty to choose from.
Then, use a pencil to sketch your rough draft. Try arranging your words in different ways; you can always erase if you don't like it! Try using different elements like: arrows, symbols, banners, shapes, lines, etc.
Also remember to use lots of different fonts. Combine clean, modern fonts with swirly cursive fonts.
Then, go over everything with your marker, add details, and you're done!
Hang up your work of art, or share it with your friends!
Hope you enjoyed this post,
Bela
July 15, 2014
how to draw sweater people
This is going to be my first drawing post and I am really excited to share this tutorial with you. This idea came to me out of the blue and I really wanted to try it out. It turned out very nicely and today I'll be showing you how I did it.
You will need:
1// A piece of paper (make sure it is the proper thickness).
2// A pencil with an eraser.
3// A pen, Sharpie, or any other tool that you can use to make your lines dark.
4// Scissors (optional)
5// Coloring materials (optional)
Steps:
1// I cut my paper into four equal pieces because I wanted my drawing to be fairly small.
2// Near the bottom of the paper, use your pencil to draw your character's neck. Then, below that, draw the neckline of the sweater.
3/// Draw two lines curving outwards from the neck. This will be the shape of the sweater.
4// If you want to, you can draw lines to show your character's arms, but if you decide that your character is the type of person who would rather wear a poncho, leave it as it is.
5// Now, give your character a head and facial features.
6// Use your pen/Sharpie/marker to go over all of the lines you have and then erase all of the leftover pencil marks.
7// Now it's time to draw the sweater pattern. You can either use a pencil and then go over it, or just skip the pencil altogether. I like to skip it because I find that when I try to go over a pattern drawn in pencil I end up not using the guidelines at all.
8// You can choose to start at the bottom or top of the sweater. Pick a pattern and use it go down the first "row". I started at the bottom and chose a circle pattern.
9// Then, right above that, pick another pattern and go along the second row with it.
10// Keep going until you fill up the sweater. You can do a different pattern for each row or you can establish a pattern of a couple of rows and repeat that throughout the sweater. Whatever you think looks best.
11// Finally, make sure you've gone over every line, made it darker, erased all of your pencil marks, and you're done! You can now color your drawing or keep it the way it is.
This technique, which I like to call the "pattern technique" is a really cool way of giving your drawings detail and personality.
Thanks for reading!
Subscribe to:
Posts (Atom)