Showing posts with label guide. Show all posts
October 24, 2014
handwriting
Hello! Today I'm going to talk about handwriting.
Let me start out with saying that I don't think handwriting will become outdated for a long, long time. If and when that happens, a great deal will be lost. No one will buy pretty stationery anymore, no one will look forward to writing on it using their new pens.
Anyways... the point is that currently, we use handwriting every day. Jotting down notes, brainstorming, writing reports, signing cards, etc. I think it's pretty cool how everyone has a different style of writing. By this I mean the kind of writing you do when you're not really paying attention to making your letters look pretty. You're just trying to get your thoughts down.
But sometimes when we write we try to adapt new, different styles. It's important to be creative when doing this, especially when you're working on an art project, because interesting typography can make a big difference!
When you're journaling, you can add some funky headers to your pages. When you're making a card a fun handwriting style can make the recipient smile. If you're designing a blog header by hand, this is definitely important. This is why I decided to write this post.
If you want to improve your handwriting or spice up your art, the first thing you'll need is a pencil and a piece of paper. Pick a phrase or word to use. A good one is "the quick brown fox jumps over the lazy dog" because it uses all the letters of the alphabet. If that's too long you can try using your name, unless it's very short!
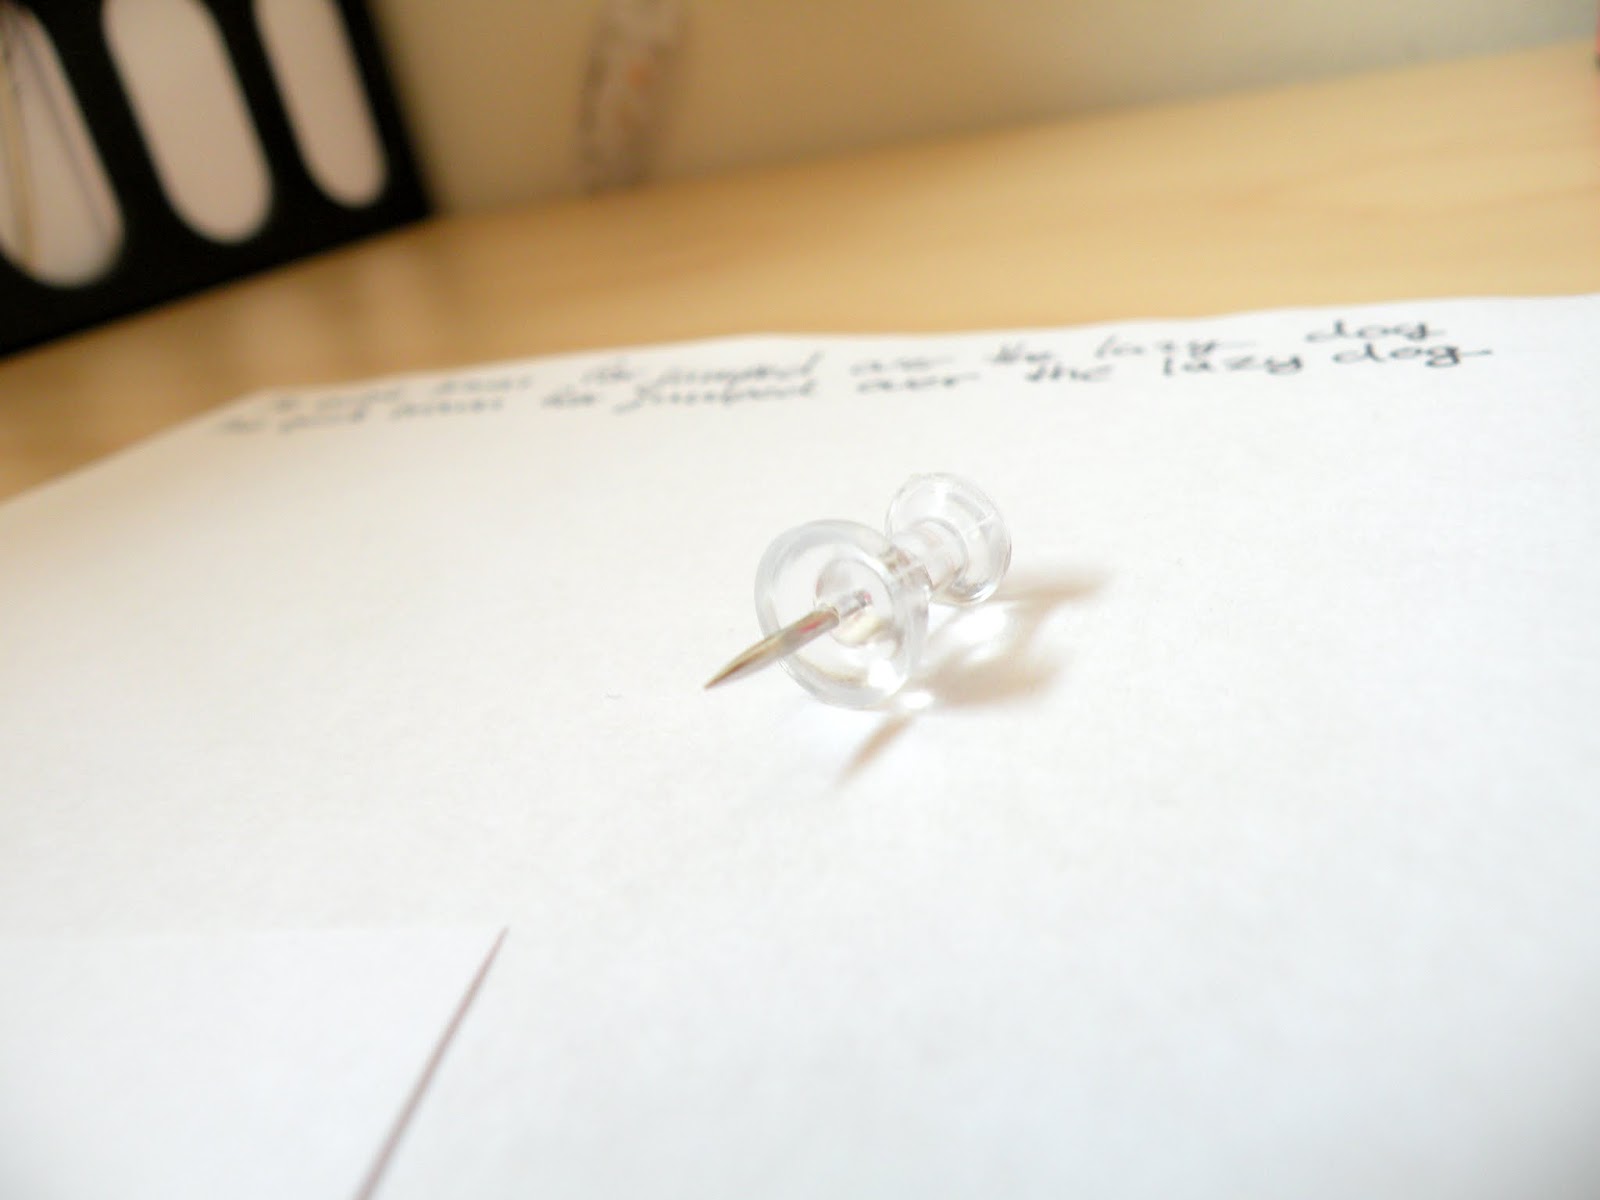
Once you've decided what you'll write, write it at the top of the page using the "quick and fast" handwriting I mentioned before, your "normal handwriting".
Now look at that and recreate it, but this time do it slowly, essentially creating a neat version of your "quick and fast" handwriting.
Now you can experiment with different ways to write! Here is a list of things you can experiment with:
1 // Try bubble letters. make them bold, make them skinny. Shade them in, fill them with a pattern.
2 // Connecting your letters vs. not connecting them.
3 // Space between your letters.
4 // Height of your letters compared to the width. Make them short and wide, then tall and skinny.
5 // Raise and lower the "dotted line". The dotted line is where you cross your t's, I think you'll see what I mean in the photo below.
6 // Make your lines rigid, then curve all of them a bit.
7 // Loop the tails of your j's, q's, g's, and y's.
8 // All lower-case vs. all upper-case.
Find inspiration in magazines (the one in the photo is a Bloomingdales magazine) and little pieces of paper.
Once you're done experimenting, get a new sheet of paper to write down your favorite "fonts". You can even give them names! You can use this as a reference sheet for when you're doing something where you think a nice font would look good.
Whenever you have time, take out a notebook and practice using these fonts.
You can also use a similar technique to simply improve your handwriting. Once you've looked at what your "quick" handwriting looks like and what your "neat" handwriting looks like, you can decide what you would like to change about it. Then practice writing like that over and over again.
I think writing in different ways is really fun, and I hope this post inspired you!
Thanks for reading, and have a lovely day!
August 15, 2014
a guide to using rubber cement
Hello! How are your summers (or winters) going?
Today I have for you a short little guide on how to use a wonderful craft material called rubber cement. It may have an odd name but it is really simple to use and easy to find. I use Elmer's brand rubber cement.
Before we start, you need to know a couple of things. Rubber cement can be dangerous if you inhale too much of the vapors. What are these vapors? According to Wikipedia rubber cement is basically an elastic polymer like latex mixed together with solvents that liquefy it. When the rubber cement dries, those solvents evaporate and only the rubber part is left behind. A small, closed room probably isn't the best place to work with rubber cement, so wherever you are, try to open as many windows as possible and breathe in that fresh air. Try to leave them open even after you're done because there might still be a lingering smell. Also keep in mind that rubber cement is extremely flammable, so exercise the necessary precautions.
When you open the container you'll find a brush connected to the cap. When you're working on a project, don't leave the brush out of the bottle for too long because the rubber cement on it might gum up.
Rubber cement works best on paper although I have used it to glue fabric to paper and it worked wonderfully. Porous materials work best but I have also heard that it doesn't work on wood, though I have never tried.
To apply rubber cement, take out the brush and scrape it against the edges of the bottle to remove excess rubber cement. Then, brush it evenly onto the material that you are gluing. Wait for it to dry - don't worry, it dries in seconds - and then carefully stick the two materials together.
You have two options when working with rubber cement. You can either apply it to one of the materials that you're working with or both of them. If you go with the first option, you will have a temporary bond that is not very strong. I used this when I was making my journal and I needed to trace a half piece of paper onto cardboard for the cover. I brushed rubber cement onto the paper and stuck it onto the cardboard so it wouldn't slide around. Later, I was able to peel it off easily. On the other hand, when I was applying decorative paper to the cover, I used the second method. I applied rubber cement to the paper and the cardboard to create a very strong, permanent bond. You have to be careful, though, that when you stick your two materials together that they line up nicely because it will be very hard to separate them once they have come in contact and you will end up damaging both materials.
Rubber cement is great for crafting because:
1// It doesn't wrinkle paper like white glue does.
2// It can create a temporary bond or a strong bond.
3// Once it is dry you can rub it off if you got it somewhere you didn't mean to.
I hope you found this post helpful!
Thanks for reading!
P.S. When the next post is up, I'll be off on my three-week vacation. Don't worry, though. I've scheduled lots of posts for the Tuesdays and Fridays that I will be gone and it will be as if I never left!
Today I have for you a short little guide on how to use a wonderful craft material called rubber cement. It may have an odd name but it is really simple to use and easy to find. I use Elmer's brand rubber cement.
Before we start, you need to know a couple of things. Rubber cement can be dangerous if you inhale too much of the vapors. What are these vapors? According to Wikipedia rubber cement is basically an elastic polymer like latex mixed together with solvents that liquefy it. When the rubber cement dries, those solvents evaporate and only the rubber part is left behind. A small, closed room probably isn't the best place to work with rubber cement, so wherever you are, try to open as many windows as possible and breathe in that fresh air. Try to leave them open even after you're done because there might still be a lingering smell. Also keep in mind that rubber cement is extremely flammable, so exercise the necessary precautions.
When you open the container you'll find a brush connected to the cap. When you're working on a project, don't leave the brush out of the bottle for too long because the rubber cement on it might gum up.
Rubber cement works best on paper although I have used it to glue fabric to paper and it worked wonderfully. Porous materials work best but I have also heard that it doesn't work on wood, though I have never tried.
To apply rubber cement, take out the brush and scrape it against the edges of the bottle to remove excess rubber cement. Then, brush it evenly onto the material that you are gluing. Wait for it to dry - don't worry, it dries in seconds - and then carefully stick the two materials together.
You have two options when working with rubber cement. You can either apply it to one of the materials that you're working with or both of them. If you go with the first option, you will have a temporary bond that is not very strong. I used this when I was making my journal and I needed to trace a half piece of paper onto cardboard for the cover. I brushed rubber cement onto the paper and stuck it onto the cardboard so it wouldn't slide around. Later, I was able to peel it off easily. On the other hand, when I was applying decorative paper to the cover, I used the second method. I applied rubber cement to the paper and the cardboard to create a very strong, permanent bond. You have to be careful, though, that when you stick your two materials together that they line up nicely because it will be very hard to separate them once they have come in contact and you will end up damaging both materials.
Rubber cement is great for crafting because:
1// It doesn't wrinkle paper like white glue does.
2// It can create a temporary bond or a strong bond.
3// Once it is dry you can rub it off if you got it somewhere you didn't mean to.
I hope you found this post helpful!
Thanks for reading!
P.S. When the next post is up, I'll be off on my three-week vacation. Don't worry, though. I've scheduled lots of posts for the Tuesdays and Fridays that I will be gone and it will be as if I never left!
Subscribe to:
Posts (Atom)